Managing flat menus via the CMS
The flat menu list
All of the flat menus created for a project will appear in the menu list page, making it easy to find, update, copy or delete your menus later. As soon as you create menus for more than one site in a multi-site project, the listing page will give you additional information and filters to help manage your menus:
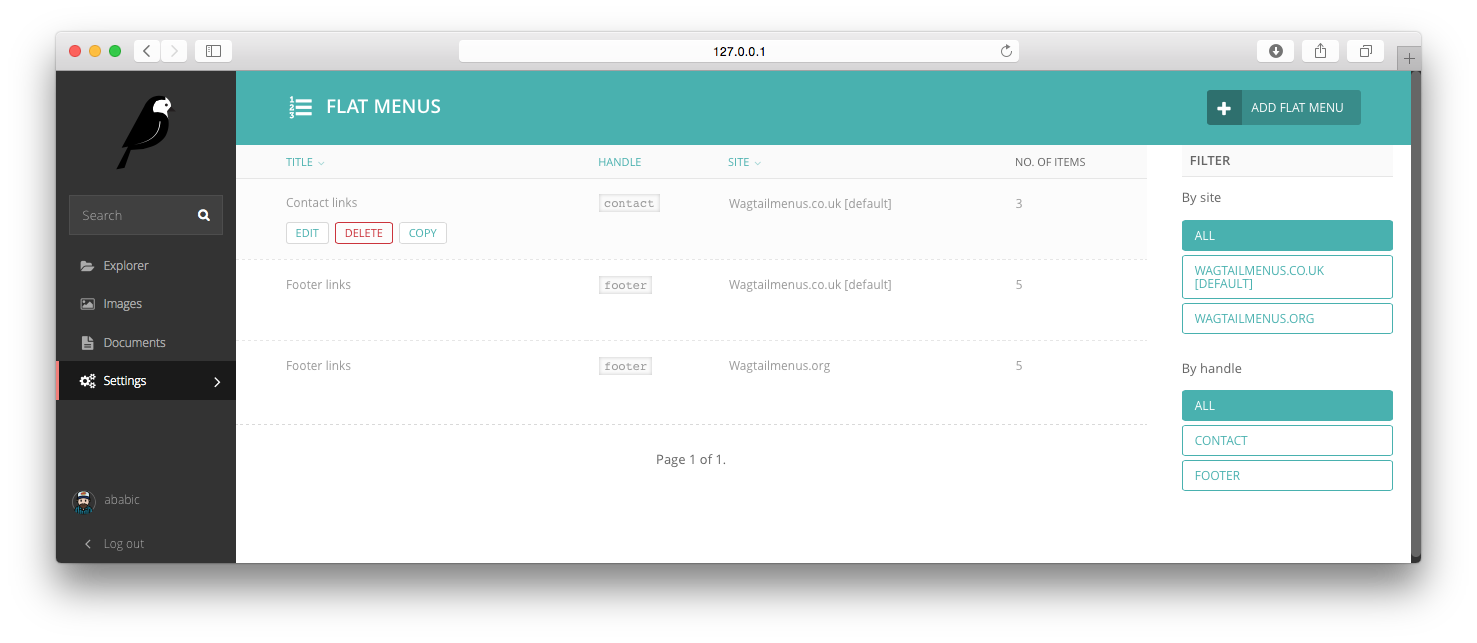
To access the flat menu list, do the following:
Log into the Wagtail CMS for your project (as a superuser).
Click on “Settings” in the side menu, then on “Flat menus”.
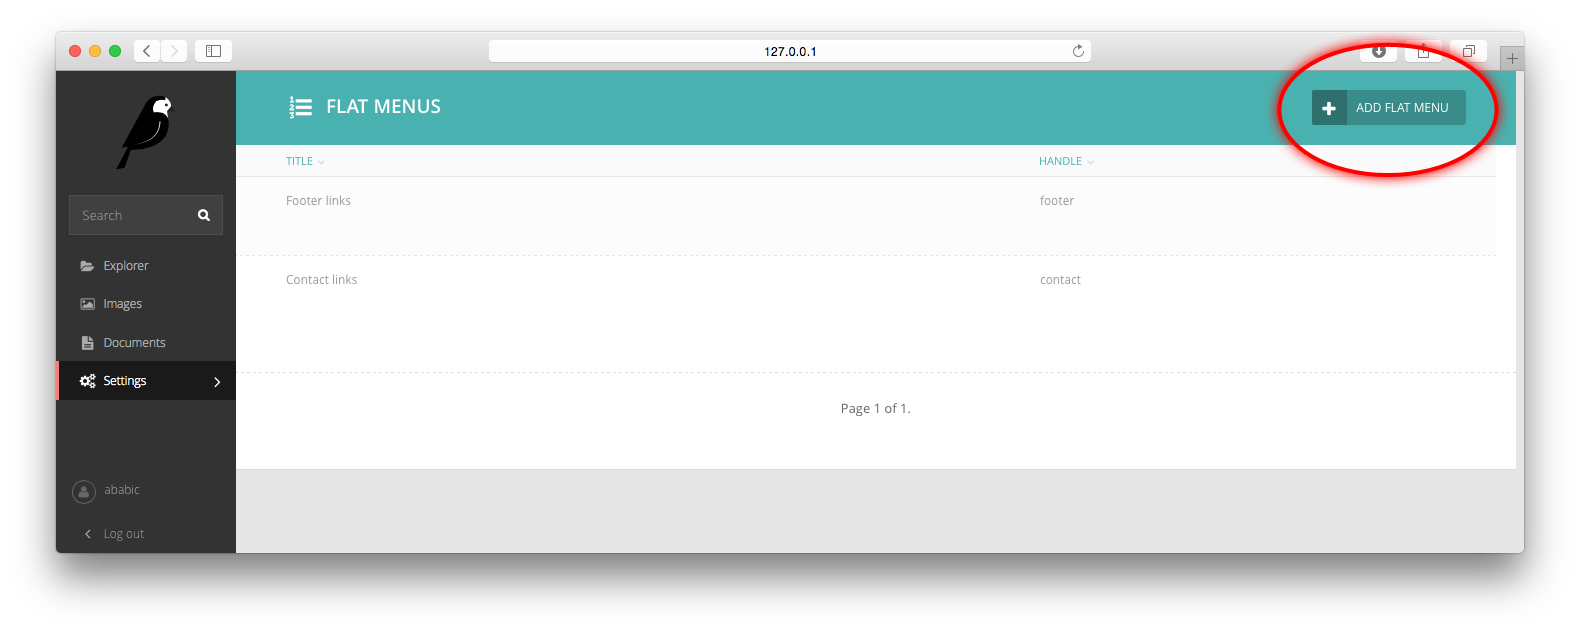
Adding a new flat menu
From the listing page above, click the “Add flat menu” button
Fill out the form, choosing a unique-for-site “handle”, which you’ll use to reference the menu when using the
{% flat_menu %}tag.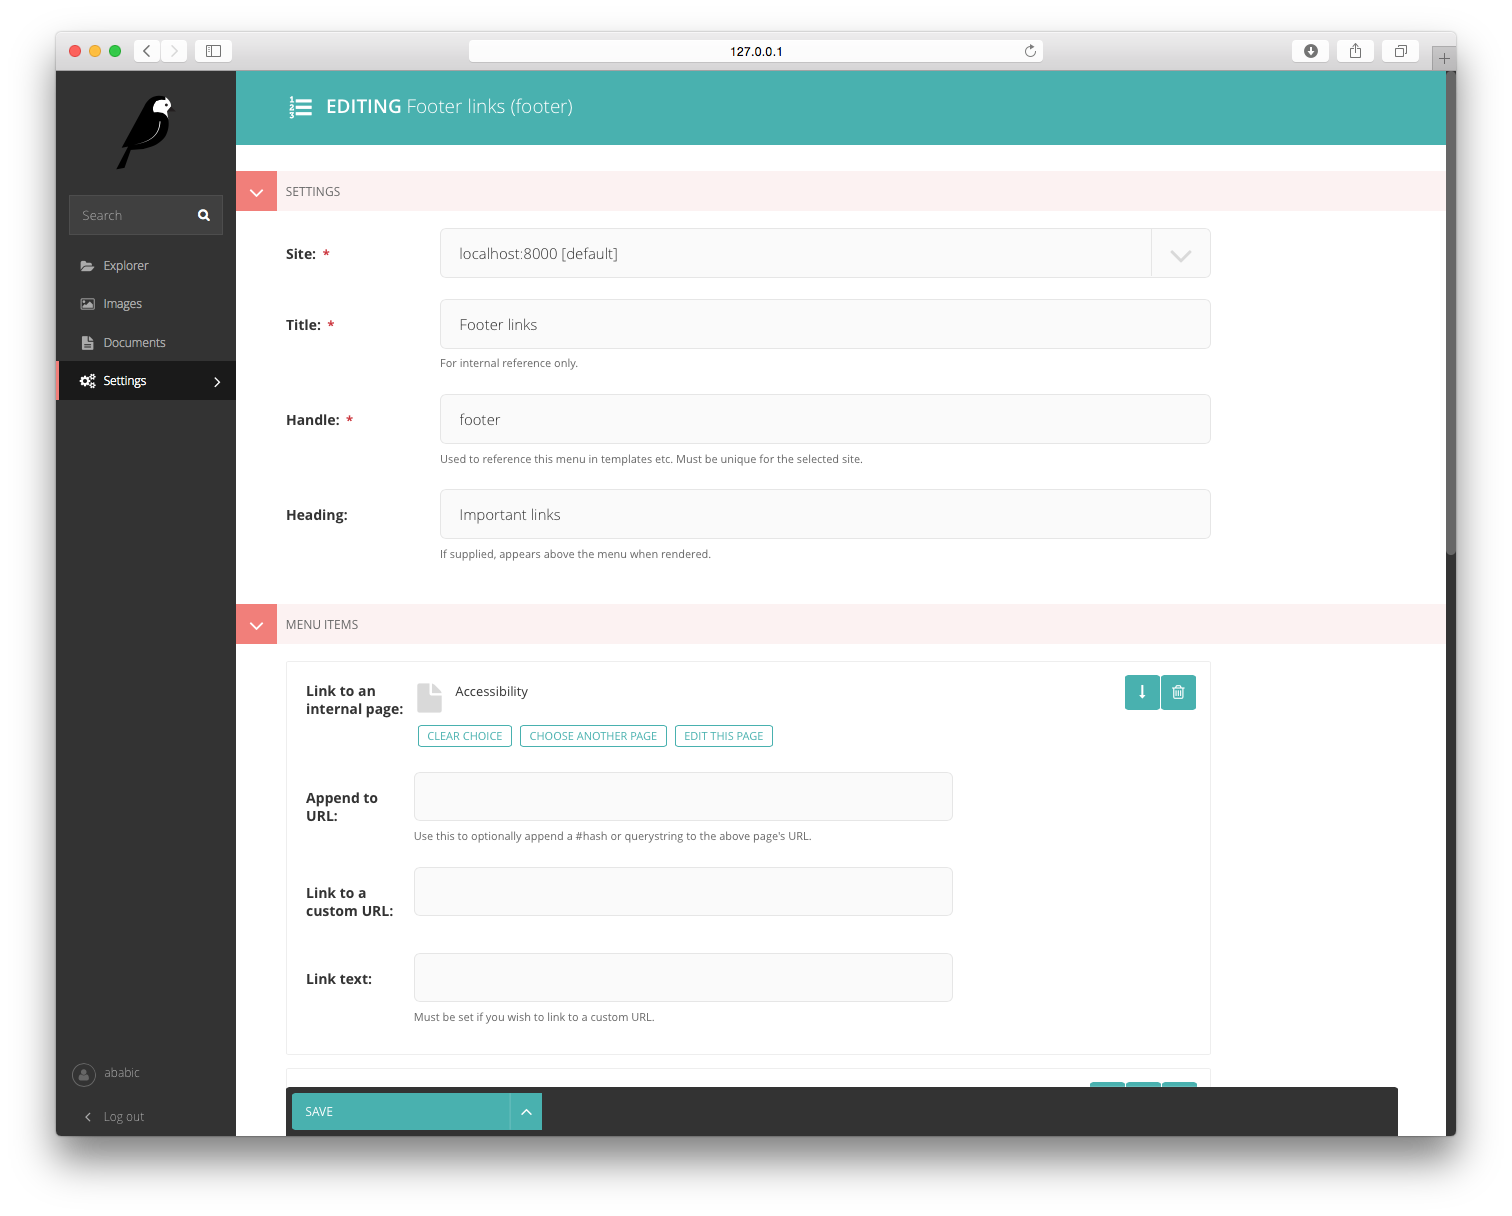
Note
If you know in advance what menus you’re likely to have in your project, you can define some pre-set choices for the
handlefield using the WAGTAILMENUS_FLAT_MENUS_HANDLE_CHOICES setting. When used, thehandlefield will become a select field, saving you from having to enter values manually.Use the “MENU ITEMS” inline panel to define the links you want the menu to have. If you wish, you can use the handle field to specify an additional value for each item, which you’ll be able to access from within menu templates.
Note
Even if selected as menu items, pages must be ‘live’ and have a
show_in_menusvalue ofTruein order to appear in menus. If you’re expecting to see new page links in a menu, but the pages are not showing up, edit the page and check whether the “Show in menus” checkbox is checked (found under the “Promote” tab by default).Like pages, menus have a “Settings” tab, where you can change the way menus behave when they are rendered. For example, if you want to change the number of levels rendered for a menu by default, try updating Maximum levels.
Click on the Save button at the bottom of the page to save your changes.